Error message "Access denied" when connecting to a share on Windows 10
You need to be the Administrator to access some shares. On Windows 10 the real Administrator account is disabled by default.
If you want to be able to access all your folders using shares such as "C:", you can enable the Administrator account and give it a password. Then configure FileBrowser to use "Administrator" in the "Username" field.
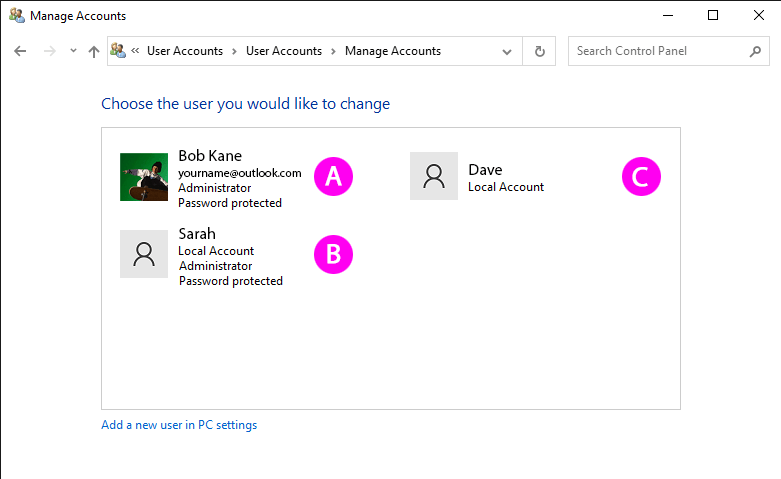
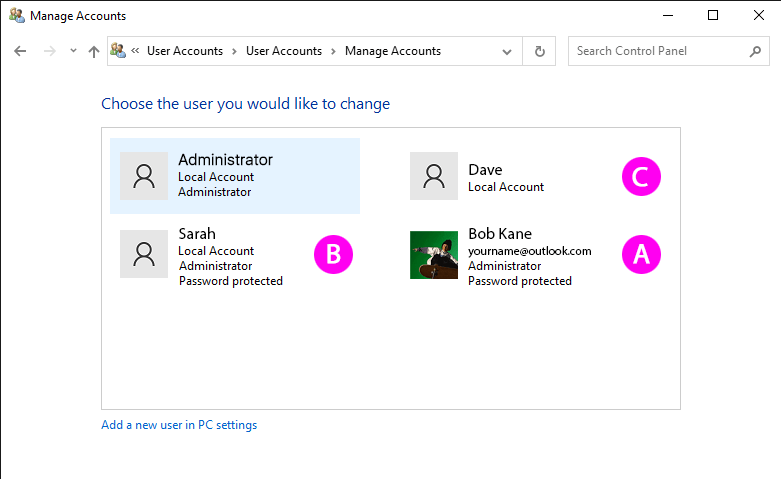
If your user looks like A, B or C below then that is not enough to access Admin shares. Please follow the steps below to enable the Administrator account.
Enabling the Administrator account
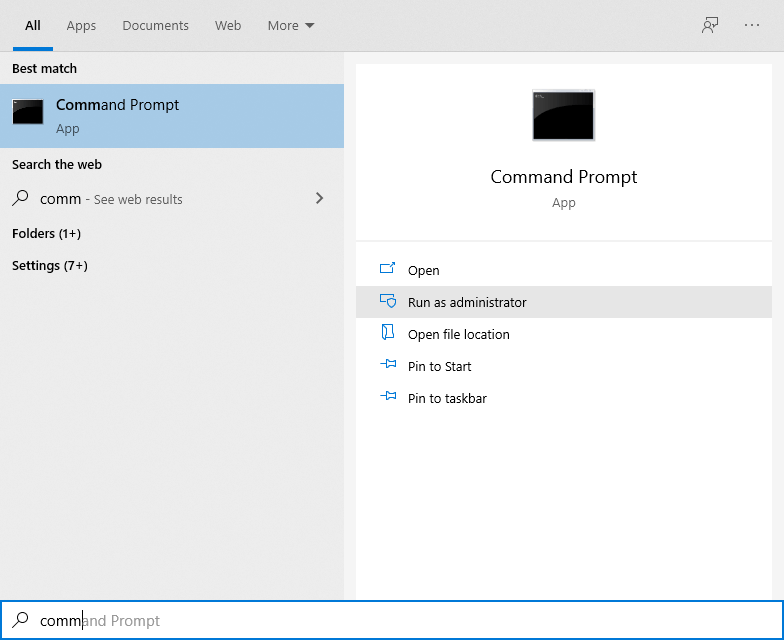
Start a Command Prompt as Administrator
-
Press the Windows key and type 'Command" once the Command Prompt App appears select 'Run as administrator'.
-
Click OK if you are presented with a confirmation popup message box.
-
In the new Command Prompt, enter "net user administrator /active:yes".
Setting the Administrator password
The Administrator password must be strong, otherwise your system will not be secure. We recommend using a password that has uppercase and lowercase letters, at least 1 number and at least one punctuation mark.
-
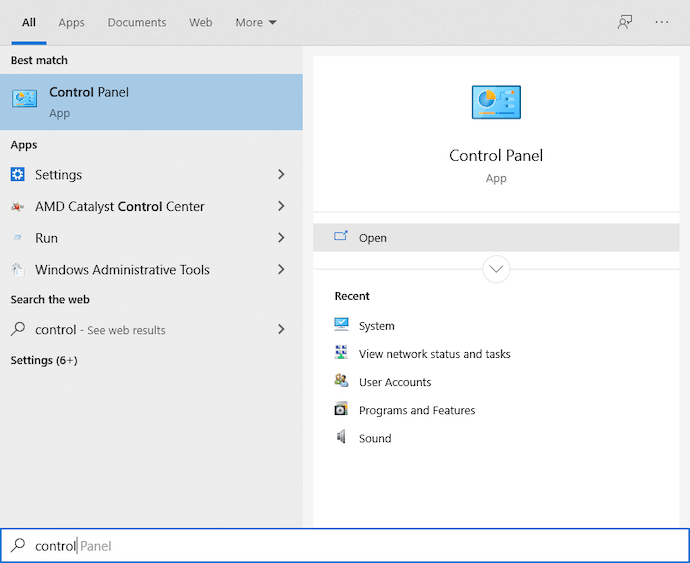
Press the Windows key and type 'Control" select the Control Panel App from the listing.
-
Click 'Change account type' under 'User Accounts'
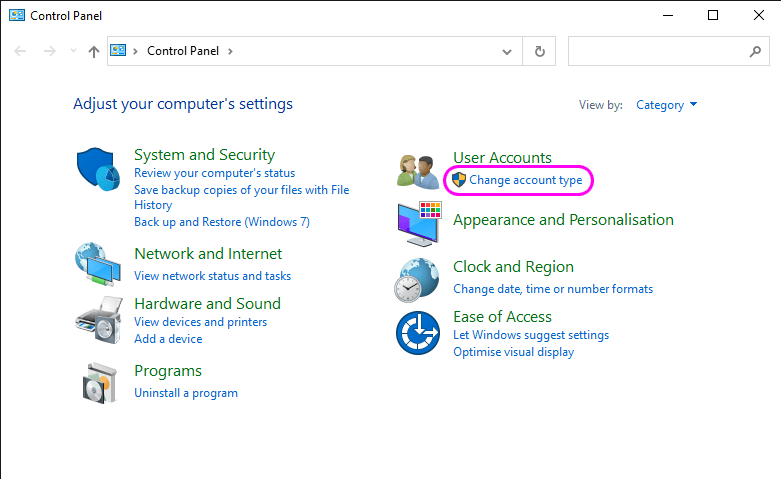
* If your Control Panel looks different, change its 'View by:' in the top right corner to 'Category'
-
You will now see all your users. There should be one that is named "Administrator", with "Administrator" listed under it as well. This is the real Admin account.
-
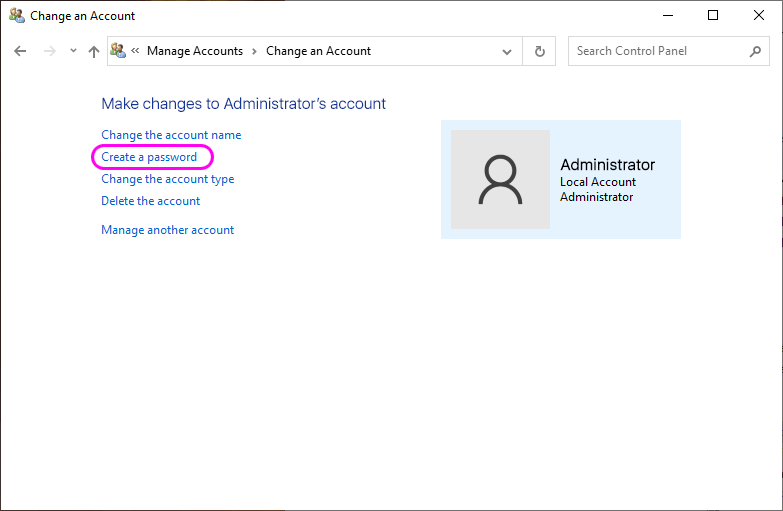
Select the Adminstrator account and then click "Create a password" in the left hand pane and then enter a strong password.
-
In FileBrowser use "Administrator" as your username when connecting to your Windows 10 PC.
* If you don't see your new Adminstrator account, close the Control Panel and re-open it.
Disabling the Administrator account
Follow the instructions as per Enabling the Administrator account above but replace step 3 with "net user administrator /active:no"
Options
I have a different version of Windows
- Access denied error message when connecting to a share on Windows 7
- Access denied error message when connecting to a share on Windows Vista
- Access denied error message when connecting to a share on Windows XP

